


If you have just created a mailbox in Hostinger and your phone or desktop mail app is asking for “server”, “port” and “encryption”, here are the exact values to use, plus the handful of things that go wrong when a mailbox will not connect.
Hostinger IMAP settings at a glance
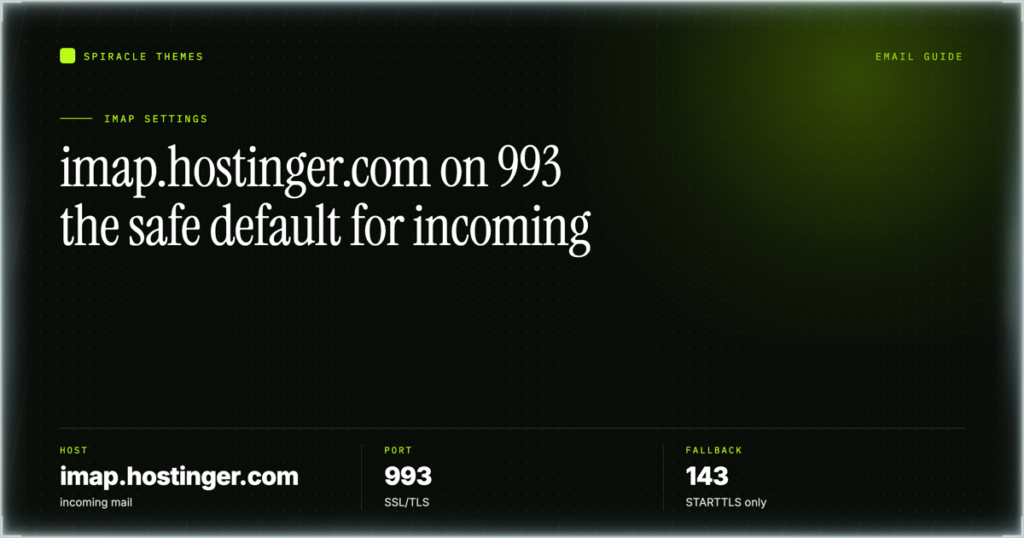
| Incoming server | imap.hostinger.com |
| IMAP port | 993 |
| Encryption | SSL/TLS (implicit TLS) |
| Username | Your full email address, e.g. you@yourdomain.com |
| Password | The password you set for that mailbox, not your Hostinger account password |
| Authentication | Normal password (no OAuth needed) |
| Alternative port | 143 with STARTTLS, if 993 is blocked on your network |
Hostinger SMTP settings at a glance
Sending needs a second set of values. Most “connected but cannot send” problems are just these being left blank or copied from the IMAP side — the Hostinger SMTP details page has the paste-ready block if that is all you need.
| Outgoing server | smtp.hostinger.com |
| SMTP port | 465 with SSL/TLS, or 587 with STARTTLS |
| Authentication | Required — same username and password as the incoming server |
| Username | Your full email address |
Where to confirm the values for your own mailbox
Hosting setups change, so the panel is the source of truth. In hPanel open Emails, click the mailbox, and look for Connect devices. It prints the incoming and outgoing server, port and encryption for that specific address, including the case where your mailbox is a business mailbox powered by Titan rather than standard Hostinger Email — those use imap.titan.email and smtp.titan.email instead, and copying the standard Hostinger hostnames into a Titan mailbox is a very common reason a setup fails.
Setting up mail on a plan you do not have yet? Hostinger’s hosting plans include mailboxes — Premium includes 2 mailboxes per website free for the first year at $1.99/mo on a 48-month term, and the 30-day money-back guarantee covers the hosting plan.
Adding the account to a mail app
Outlook on Windows
- File > Add Account, then choose the manual setup option.
- Pick IMAP, and enter the address and password.
- Incoming: imap.hostinger.com, 993, SSL/TLS.
- Outgoing: smtp.hostinger.com, 465, SSL/TLS, with “require authentication” on.
Apple Mail on macOS or iOS
- Settings > Mail > Accounts > Add Account > Other > Add Mail Account.
- After the automatic lookup fails, choose IMAP and fill in both server blocks by hand.
- Wait for the verification step to finish before closing — iOS silently retries failed outgoing settings otherwise.
Thunderbird
- Add Mail Account, then click “Configure manually”.
- Set the incoming protocol to IMAP before entering anything else; Thunderbird otherwise defaults to POP and downloads the mailbox locally.
- Set authentication to “Normal password” on both sides, then test.
Gmail — collect this mailbox
- Gmail settings > Accounts > “Check mail from other accounts” > Add a mail account.
- Use imap.hostinger.com on 993 with SSL.
- For the “Send mail as” side, use smtp.hostinger.com on 465 with SSL and the same mailbox credentials.
When the connection keeps failing
Work through these five checks in order — they cover almost every case:
- Port and encryption must match. Port 993 with SSL, or 143 with STARTTLS. Port 993 with “no encryption” will hang until it times out, not fail cleanly.
- Use the mailbox password, not the hPanel password. They are different, and resetting the mailbox password in hPanel is a one-click fix if you have forgotten it.
- Special characters in the password. A password containing a colon, an @ or a trailing space often survives the panel but not the app. Change it to something plain and try again before assuming a server fault.
- The mailbox may not exist yet. Creating a hosting plan does not create a mailbox. If the address was never added under Emails, the server will reject authentication no matter which port you use.
- Network blocking. Corporate and hotel networks frequently block outgoing SMTP. If IMAP connects but sending fails, try port 587, then a different network, before changing anything else.
Once mail is flowing, keep the site behind it alive
Email is the part of a WordPress setup that people remember to check. The site is the part that quietly breaks: a plugin update at 2am, a PHP memory limit, a database that fills up, or a mailbox that starts filling with form submissions because a contact form is being hit by bots.
We build WordPress themes for a living, and we look after sites on the same stack after launch. The care plans start at $99/month and cover the unglamorous work — updates tested before release, daily offsite backups with 30-day retention, 24/7 uptime monitoring, weekly malware scans, monthly speed and broken-link checks, and a plain-English report so you know what actually changed. If your site takes payments, the $299 plan adds staging before every update, WooCommerce monitoring with a monthly test order, database optimisation and a 4-hour priority response.
If you would rather keep doing it yourself, that is a fair call too — the settings above are the whole job for email. The site just needs someone to run them.
Once the mailbox connects, the settings stop being the interesting part — the interesting part is whether the domain’s DNS records are telling the world where to send mail.
Mail is hosted, but the site needs a home too? Check the current Hostinger plans — Premium is $1.99/mo on a 48-month term, renewing at $10.99/mo, and every hosting plan carries a 30-day money-back guarantee.
Frequently asked questions
What is the Hostinger IMAP server name?
imap.hostinger.com, on port 993 with SSL/TLS, using your full email address as the username.
Can I use port 143 instead of 993?
Yes, with STARTTLS rather than SSL. Port 993 is the safer default because it wraps the connection in TLS from the first byte and is blocked less often.
Mail connects but nobody receives it. What is wrong?
IMAP only reads the mailbox — delivery depends on MX records and on SPF, DKIM and DMARC for reputation. If messages land in spam instead of being rejected, check those DNS records before touching the mail client settings again — Hostinger DNS records explained covers MX, SPF, DKIM and DMARC one by one.